Blend and Rearrange Layers
Rearrange Layers
Rearrange layers by dragging and dropping them in the Layers tab. The layers at the top of the list will be displayed in the foreground of the map.
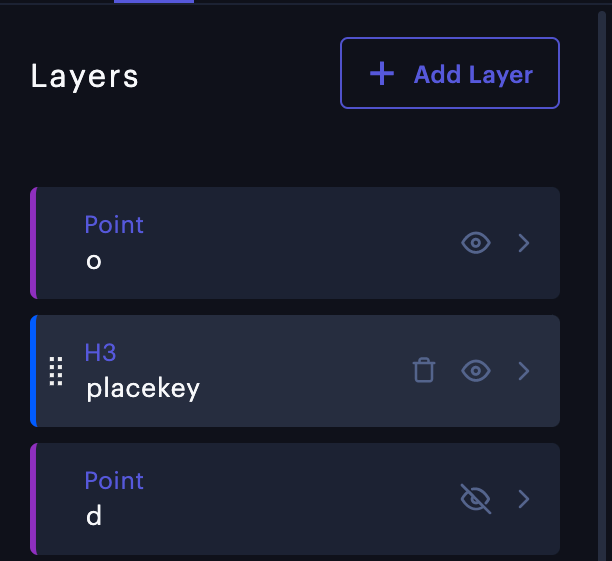
Drag and drop layers to rearrange them.
In the above example, layer "o" will be on the top strata of the map, while layer "d" will be at the bottom strata.
View Layers by Dataset
Click View Layers by Dataset in the Layers tab to organize your layers by dataset.
This viewing mode groups all layers and filter panels with the dataset they are connected to, allowing you to easily review the association between layers and datasets
To return to the default, user-defined layer grouping, click View List.
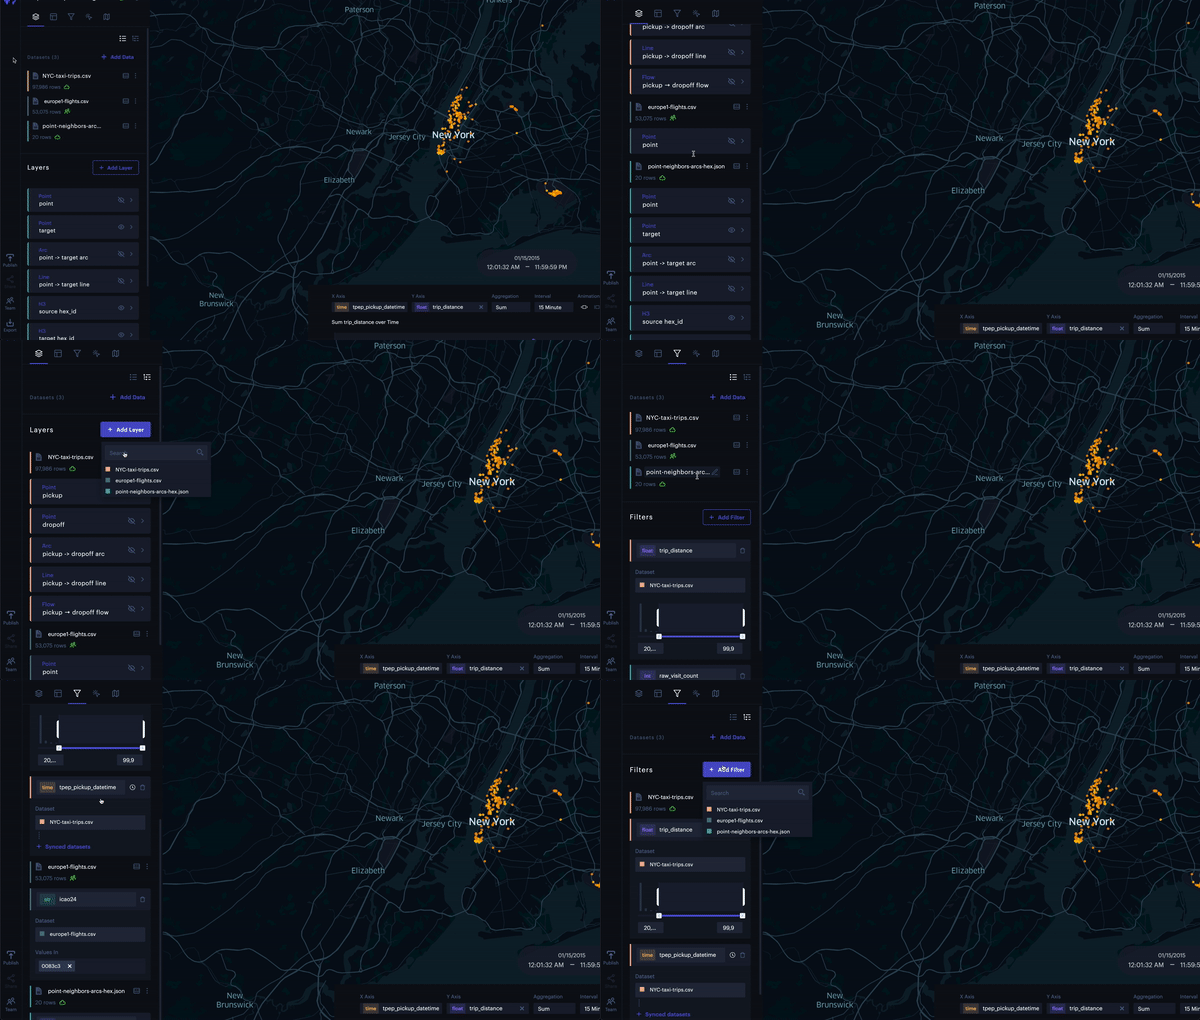
View by Dataset viewing mode.
Layer Blending
Navigate to the Layers tab and open the Layer Blending dropdown menu at the bottom of the Layers panel.
There are three ways to blend layers, including:
Normal Blending
Normal layer blending does not alter the color values of overlapping data points.
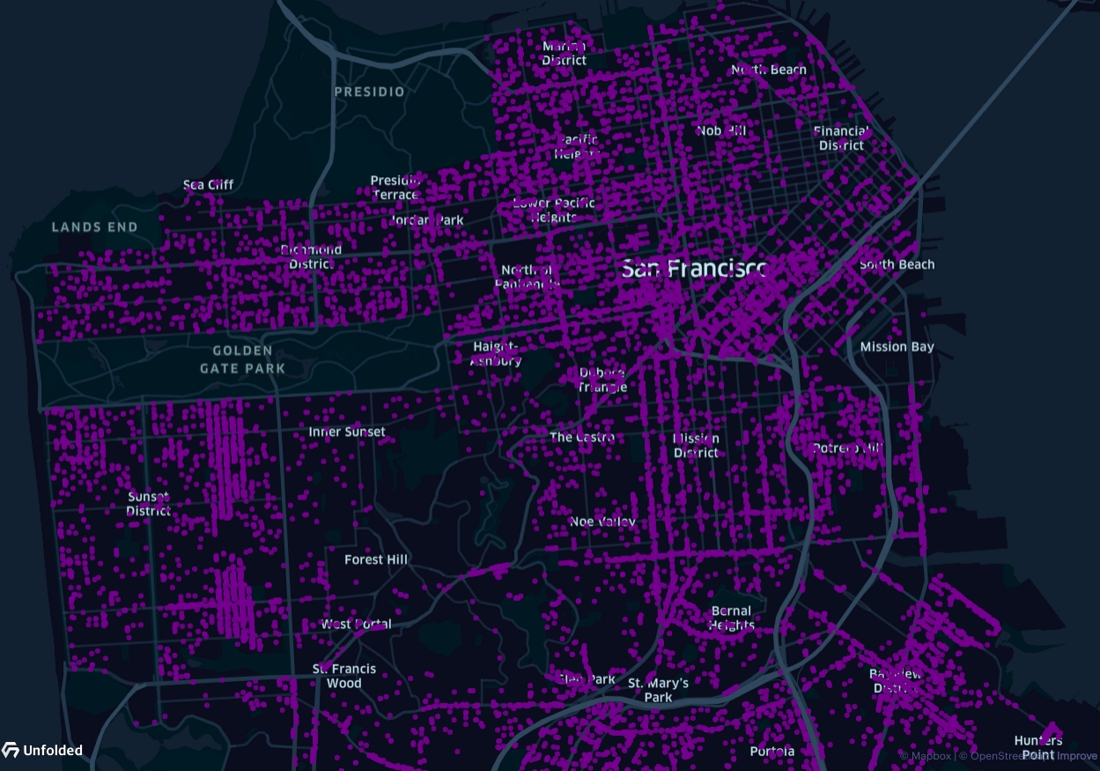
Normal blending.
Additive Blending
Additive blending adds the color values for overlapping data points. This makes layers, and particularly areas of high density, easier to visualize on a dark-colored map.
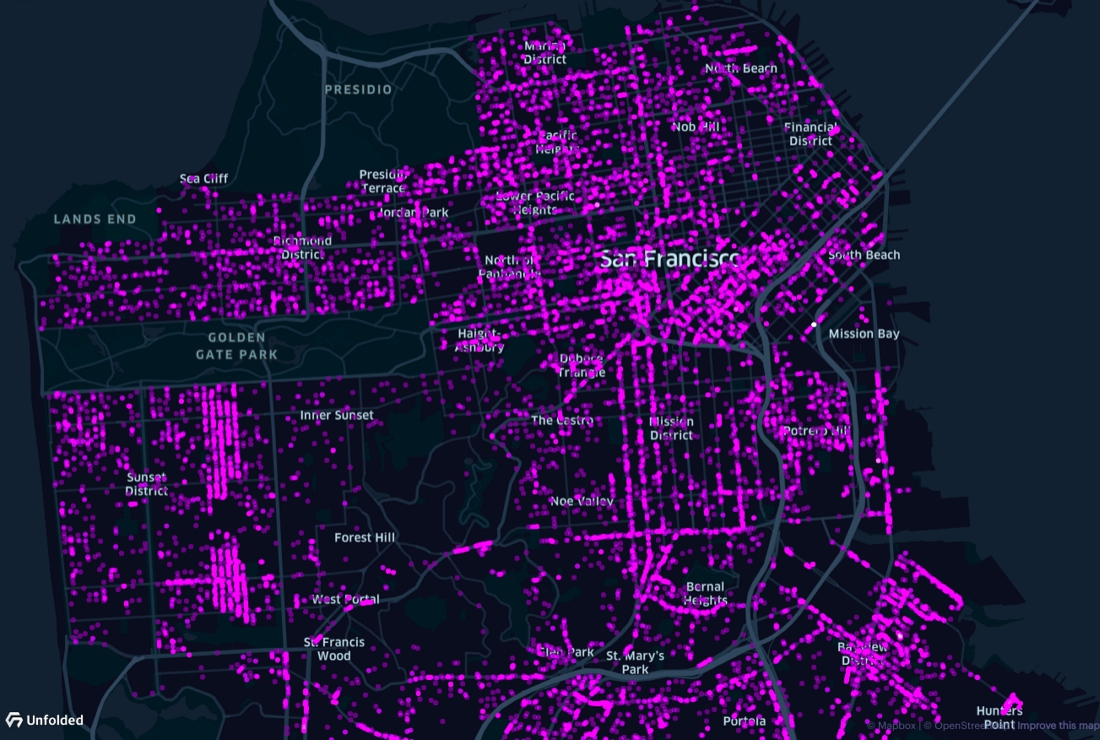
Additive blending.
Subtractive Blending
Subtractive layer blending does not alter the color values of overlapping data points.
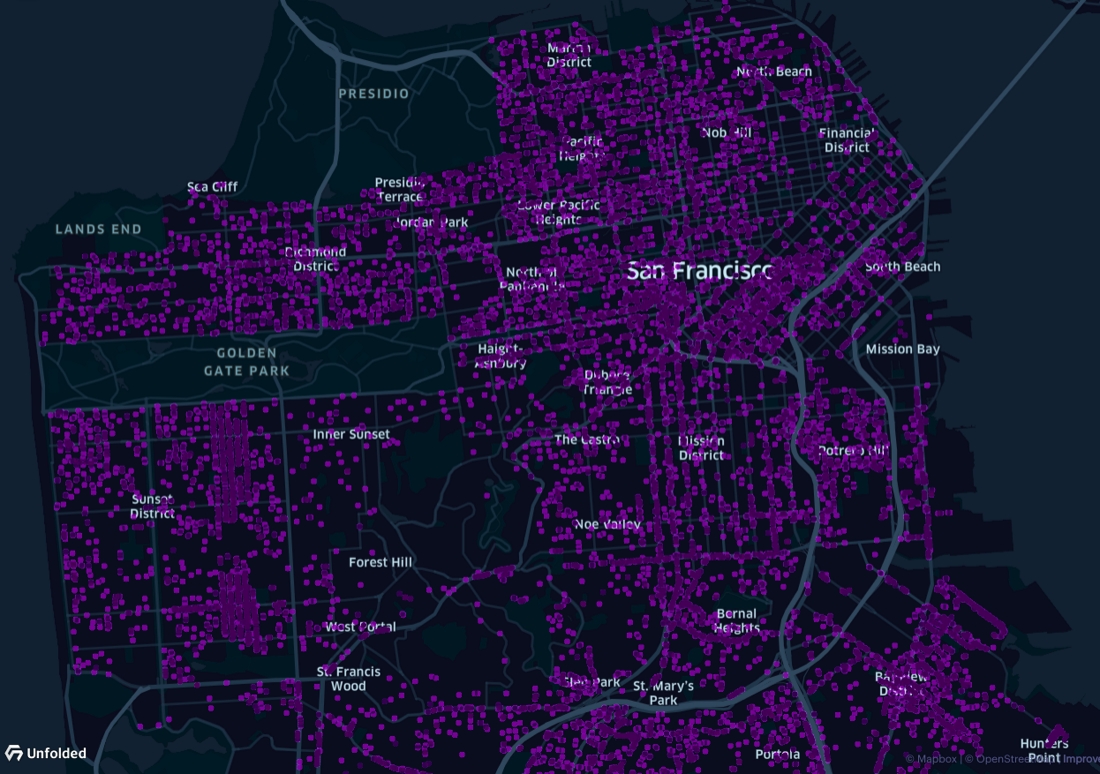
Subtractive blending.
Map Overlay Blending
You can blend layers with your base map to improve the overall clarity of your map.
Navigate to the Layers tab and open the Map Overlay Blending dropdown menu.
There are three map overlay blending options, including:
- Normal — A default map blending configuration for any base map.
- Dark Base Map — A map blending configuration for dark base maps.
- Light Base Map — A map blending configuration for light base maps.
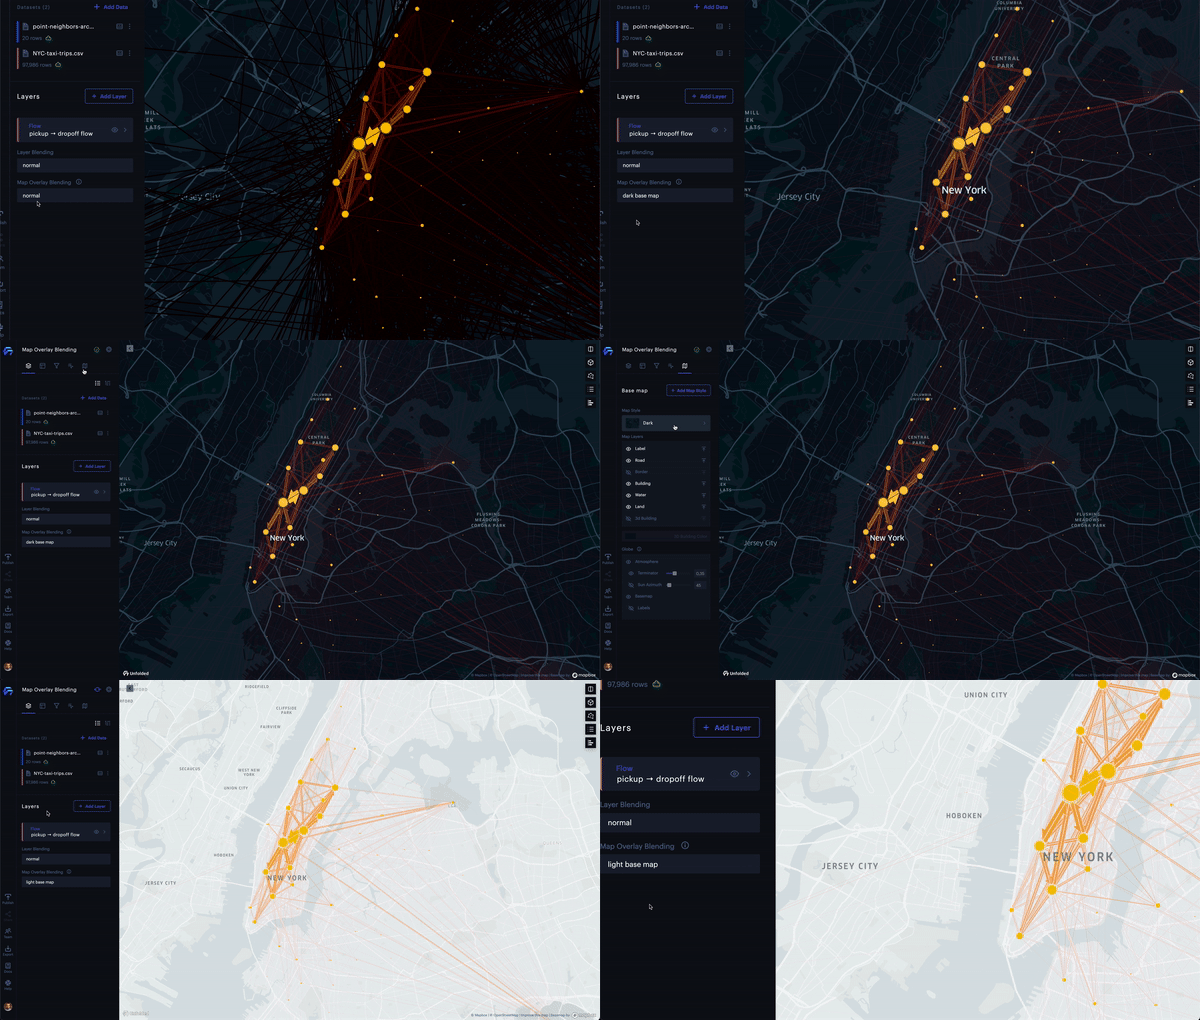
Map Overlay Blending example.
If you change your base map with Dark Base Map or Light Base Map enabled, Foursquare Studio will automatically detect and switch the map overlay blending.
For example, if you switch from a dark to light base map with Dark Base Map blending enabled, Foursquare Studio will automatically enable Light Base Map map overlay blending.
Updated 7 days ago
